First impression: you thought Gingerbread Houses were just for the Christmas season, right?
Well, the folks at Ralph Brennan’s Jazz Kitchen in Downtown Disney didn’t think so, and for the second year running, they have hosted a Haunted House Building Workshop! I missed it last year, so this year, my friend Cheryl and I decided to take my girls and have a bit of Halloween fun! I’ll take you though our creative adventure step-by-step! And, yes, there is lots of sugar involved!
I made our reservations about 2 weeks in advance, for the October 23rd session. When I spoke with Bruno, he let me know he had several spots left. By the time the day came, they were sold out of all seats. With tax, the event came to around $51 for two people, paid in advance. I toyed with the idea of getting an extra seat for my husband, but he opted for a movie at Downtown Disney’s AMC Theater. Some would say he is a smart man….
On the day of the event, we arrived a little bit early to the event – 11:45 – and the line started to form.
TIP: This is one activity that you don’t have worry too much about where you are in line. They know exactly how many are in your party and seat you in “restaurant-style”, based on that number.
At noon, they escorted us to the upper dining rooms, where they had a lovely private setting. These rooms can be separated and serve as banquet/private party rooms, as well.
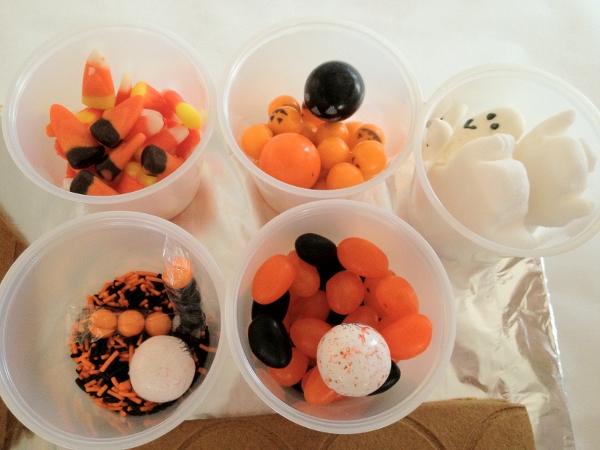
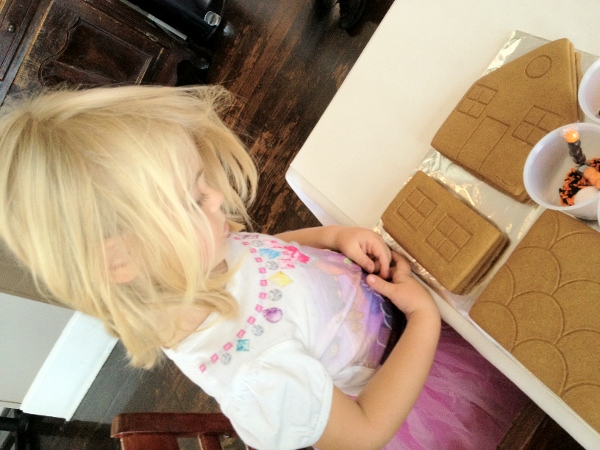
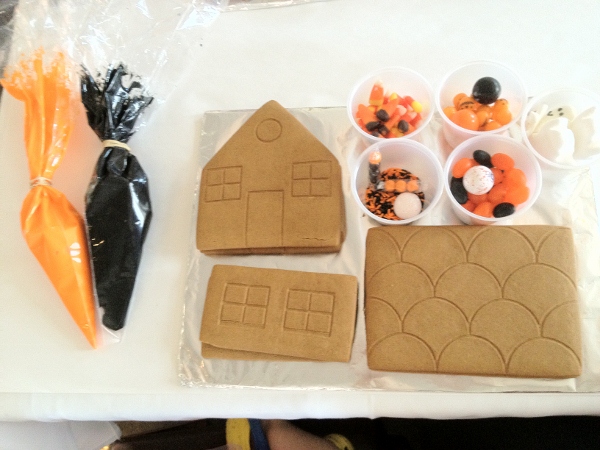
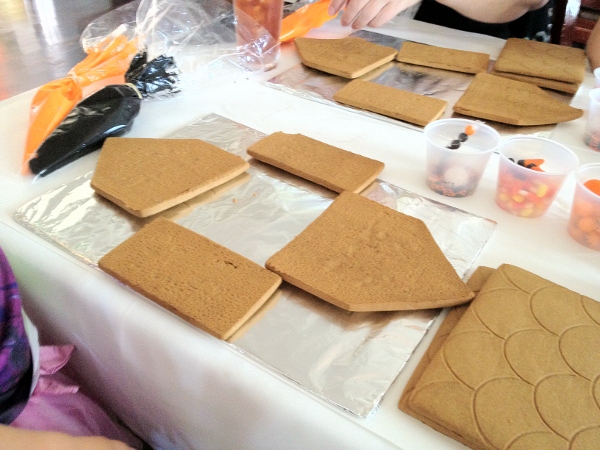
After being seated, we were greeted by a couple sights – our project (disassembled in front of us and taunting its sugary goodness…)
and an instruction and menu guide.
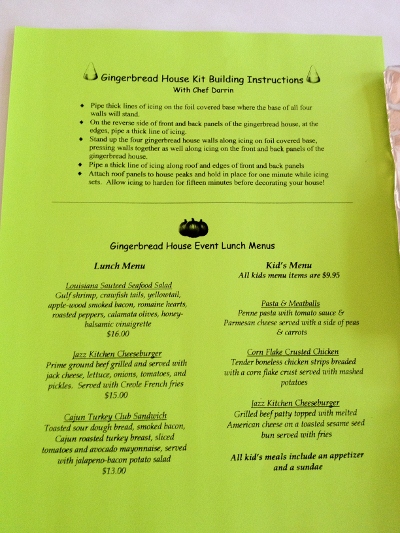
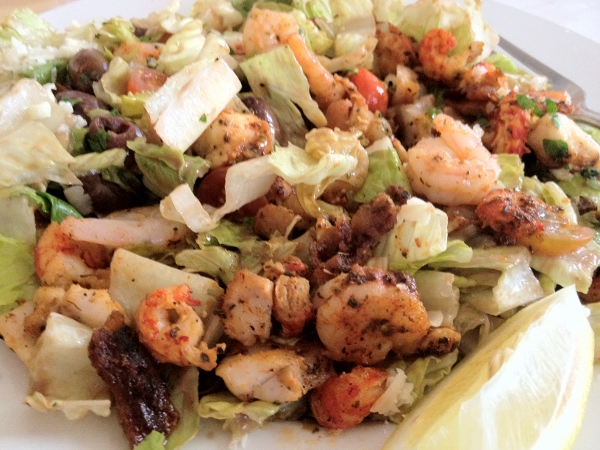
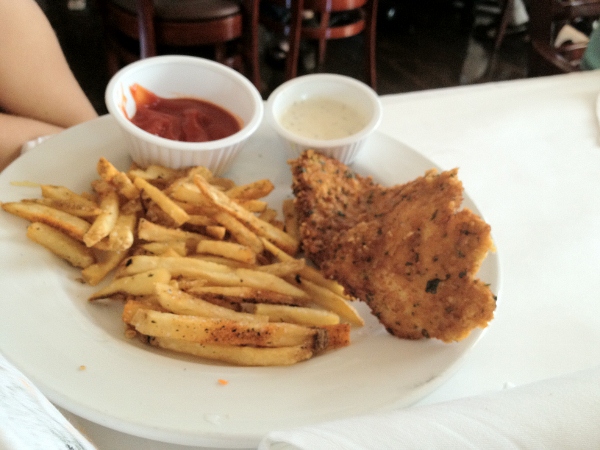
Our waiter came to check on us to get our drink and food orders, if we so desired. The fact that this event was at noon, certainly made lunch stand out in our minds – I think the Jazz Kitchen folks were counting on that. I was one of the few families that ordered food. I chose the seafood salad and the girls went with the corn flake crusted chicken – but, I’ll get to that later! Now it was time to wait for all the drinks to be served and the frosting to make its appearance.
Of course, waiting is the hard part -especially for someone who is almost 5!
Finally, it arrived with panache!
Yeah. Our server was a lot of fun. And, he was the KING of extra icing…. With our kit complete, Lily was thrilled beyond belief that it was time to start. This waiting period was a bit long for the smaller crowd.
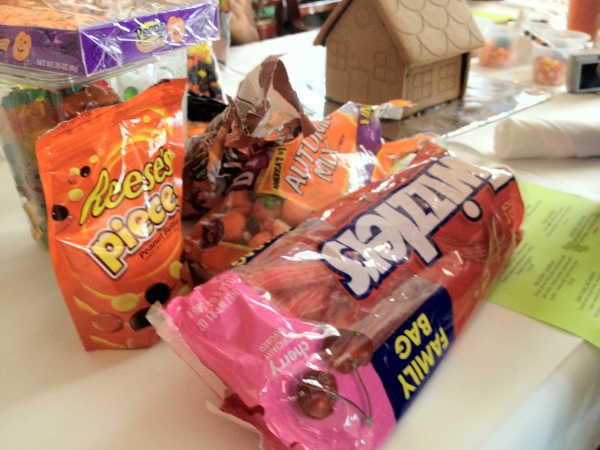
TIP: If you want to be extra creative, make sure to do what our table-mates did – bring your own extra candies – and even extra frosting colors – to give it your own flair!
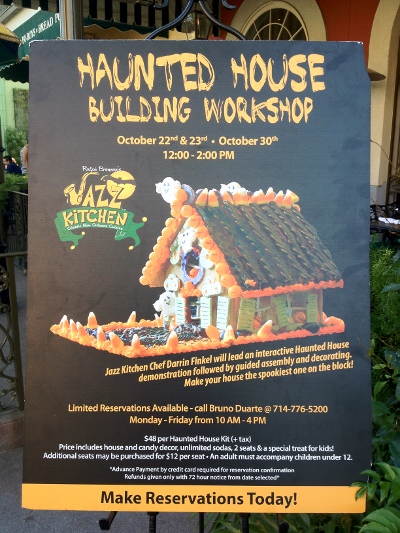
(I was personally jealous of the Brach’s and Peeps pumpkins.) Licorice is not included – despite its presence in the event poster. Hmmmmm…
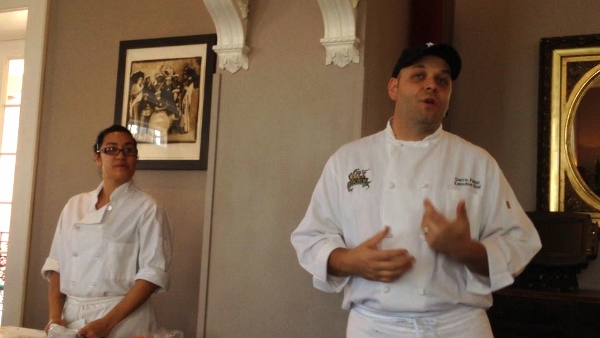
Once we were settled in and ready to go, Executive Chef Darrin Finkle and Pastry Chef, Marlene, arrived to introduce us to the art of Haunted House-making and lead us through the step-by-step process. Chef Darrin was great! He has a humorous spirit and made everyone at ease with the project.
That and he assured us that he was excellent at fixing cave-ins (should we experience that haunted house deterioration)…..
After demonstration of the first step, it was time for us to start. Like all houses, ours needed an architectural base. We did not, however, need zoning approvals and needless permits…. We did have to identify our building materials (2 door wall, 2 side walls, and 2 roof pieces) and plan for their position on our plot of land. You know, for a lot of the folks around us, this was a major planning point. You’ll see why, later on.
TIP: Bring a large cookie sheet pan with walls to place your foil-covered board on. It makes the whole unit sturdier when it comes time to move the finished piece. When taking it home, it also helps to bring a box along, as well. (Lesson learned by watching others….)
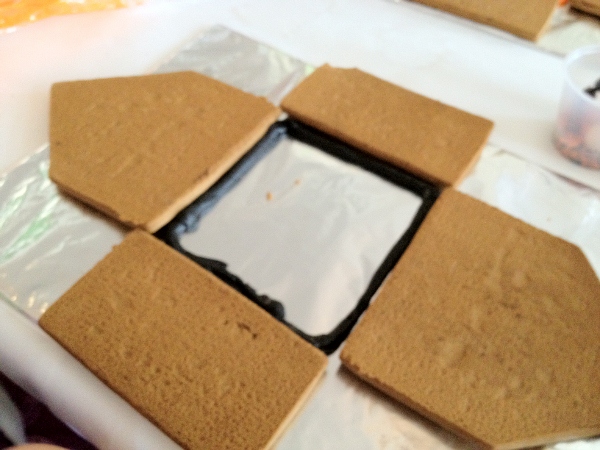
Once we laid out our pieces, it was time to build the foundation. We picked our icing color and went for it. Lily wanted orange in the worst way, but amazingly warmed up to the black, when I told her it wouldn’t show….
FYI – I don’t know what I was thinking in placing my front walls inside as more of a square. I had to re-do my foundation piping, as it was too small. And then, the wrecking ball happened…..
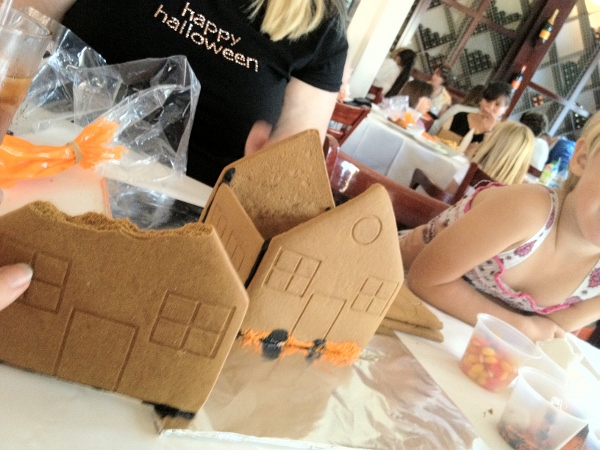
Remember – you have to put icing on the edges of the side wall to make them stick….. Cheryl and Zoe did much better. See. This one is theirs.
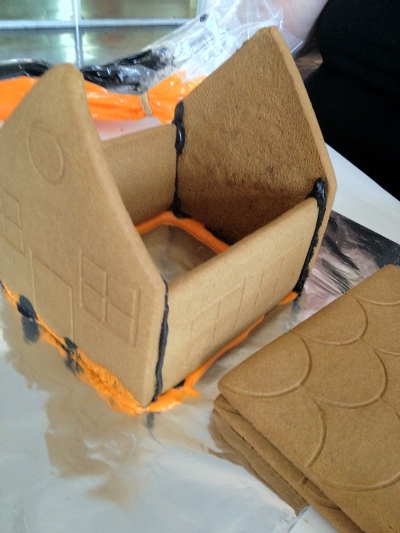
We had to hold each joint in place for a couple minutes before we could move on to the next one. The frosting hardens everything into place, like glue. Once the walls are secure, the roof gets attached. According to Chef Darrin, this is where you need the most careful eye, or your house will need condemnation by the city….
In fact, I started not to heed his advice, but then noticed that one half of my roof was starting to slide, while preparing the other. That was a re-do… The extra black frosting got scraped off my fingers to become a sidewalk…
The final construction detail is to flash the roof – just like you would any other domicile for the undead. This last line of frosting help with the final cementing of the roof pieces and gives it that extra strength to keep the mounds of decorations outside the house and not in. (P.S. – my girls ate the demolished wall….)

Once you get everything stuck on, and the top seam of the roof flashed, you have to sit on your butt and wait for successful cementing. Chef Darrin says most people ignore him when it comes to this….
This means it’s a good time to stuff your face with awesome Jazz Kitchen food. The time window for eating is short, though. My salad certainly hit the spot. The warm seafood contrasted with the crisp salad pretty well. I only got half of it down, though, since I was the primary icing-queen. I’ll be glad when the girls get older and can squeeze a pastry bag with some skill!
I have to share the girls’ meal. This is only 1/2 of it! Tony has discussed the value of the children’s meals at Jazz Kitchen before, and I agree with him whole heartedly. It even comes with fresh veggies and dip for an appetizer and sundae for dessert. Even though it was $9.99, I split it between two kids and had leftovers.
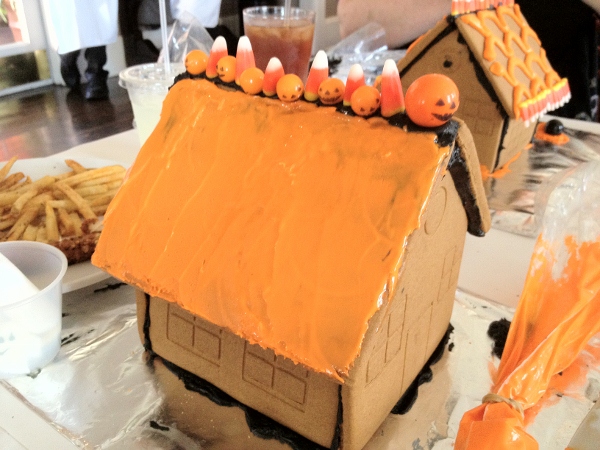
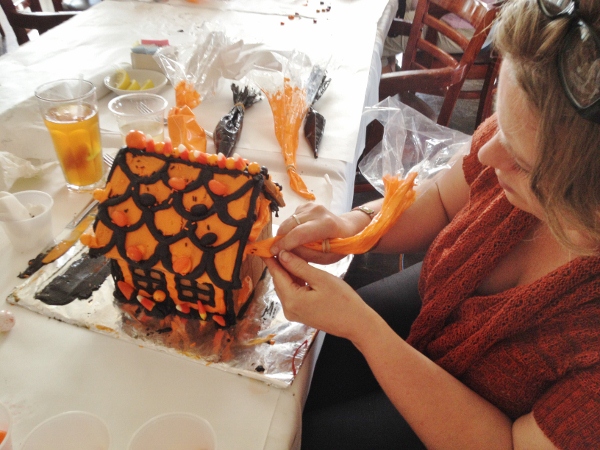
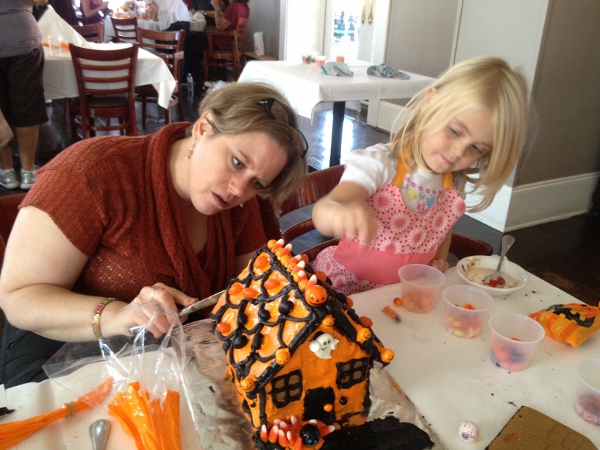
Granted, I had leftovers of their meal because of what came next – the oodles of sugary frosting and candy to glue on with it! I made the decision to frost our roof and give it some color. Lily had a grand vision on how she wanted the roof peak to look. Inspired by a certain Holiday Mansion, perhaps?
Then came more details.
Go ahead. Make your Martha Stewart jokes. It gets worse….
I couldn’t leave it alone with just an orange roof. Nope. Not me – the queen of too many details.
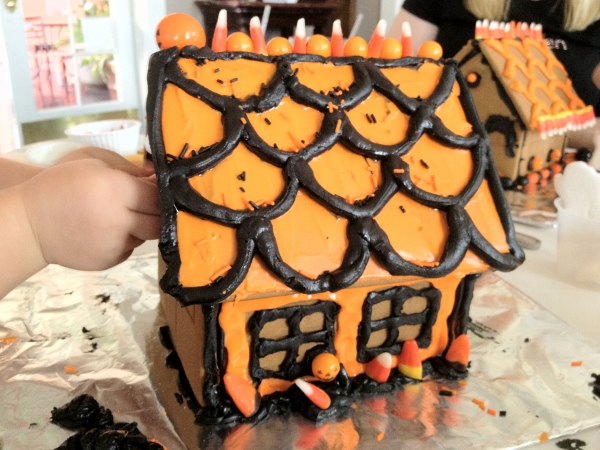
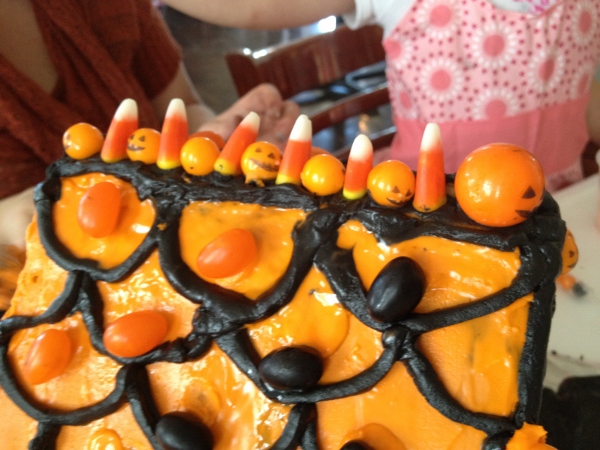
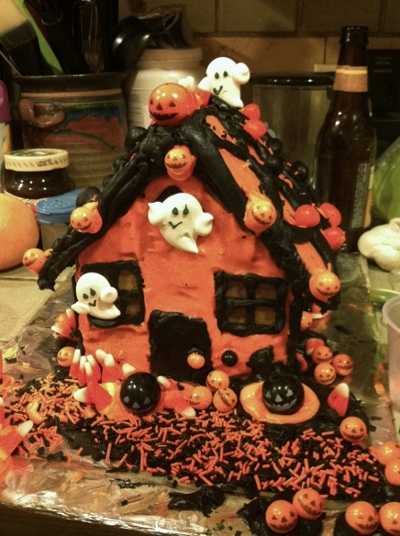
I got it into my crazed design head to color the walls orange, too. In retrospect, this was a bit much… but, hey.
See all those other bags of frosting? Yep. I adored my server. You state that you can make one of these in your own home with a grocery store kit, but if you run out of frosting, what will you do? Will you have a sweetheart of a server fetch you more for free at your beckoned call? Yeah. I didn’t think so.
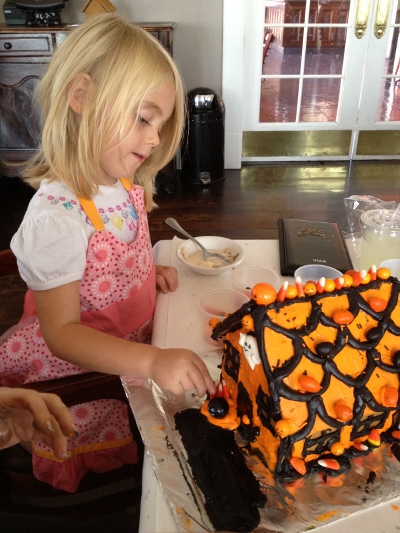
Lily and Zoe really had a chance to shine at the decorating. She had a complete vision on how she wanted the big gumballs and ghosts to be placed.
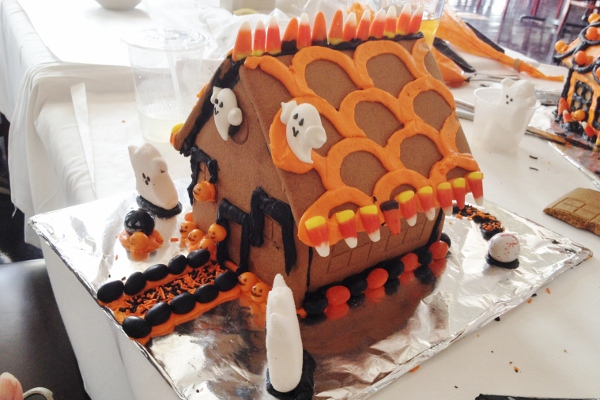
Zoe did too. She guided Cheryl through several choices! In fact, they finished quite a bit sooner than we did. (Cheryl made me promise not to point out the upside -down roof panels, so I’m not. I’m officially stating that this was a specific design choice!) I think their house turned out fabulous.
Revisiting that last statement, almost everyone finished before we did. Dang you Martha.
See, we’re still working.
Check out Lily’s bowling for pumpkins in the front yard…
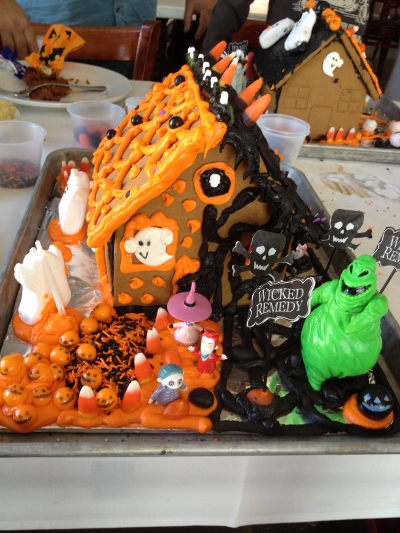
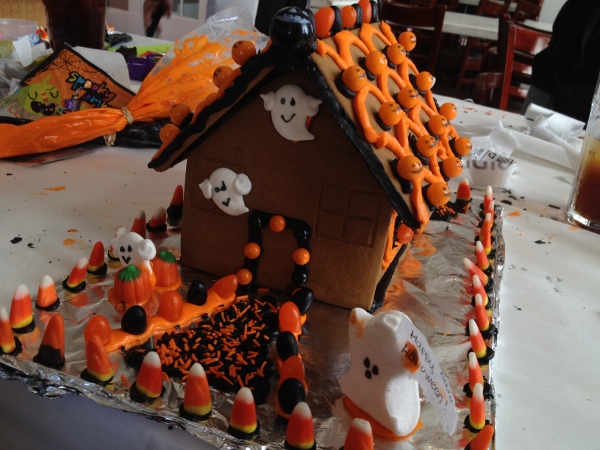
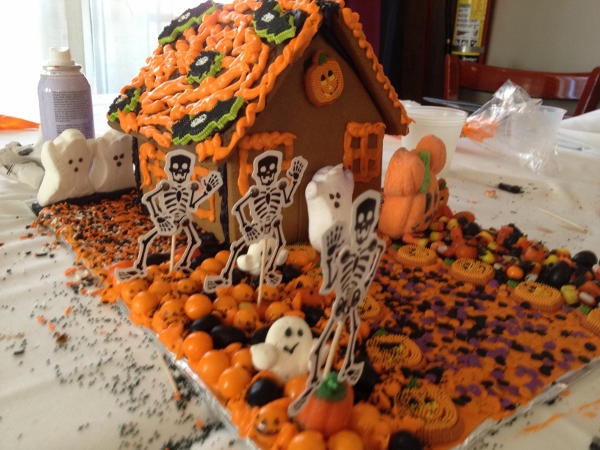
While I’m sitting here, you might want to tour the room and look at some of the other great houses that folks made.
This one has a Nightmare Before Christmas theme.
One again. Kicking myself for not getting the Brachs mix….
I am so going to Michaels and getting those bats next year. I am also highly jealous of the marshmallow Mickey pumpkin….
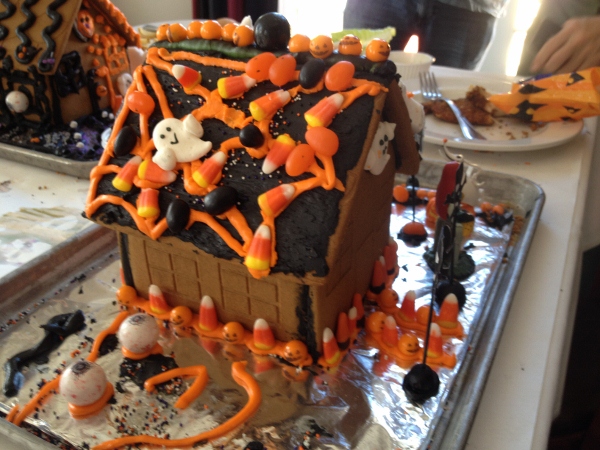
There’s some “outside the box’ thinking in this one with the cool spiderweb roof.
When they were about to kick us out… I mean… When it was finally time to go, we had gotten all but the landscaping done. We were allowed to pack up our candy and a bunch of that extra icing (did I mention my fabulous server?) and headed home.
Later that night, the girls went back to work to finish the masterpiece that Frank Lloyd Wright would give his decaying eyeballs for….
If you’d like to do this event next year (due to guest demand), I would recommend friending Ralph Brennan’s Jazz Kitchen on Facebook. That is actually how I was reminded.
Yes, I could have done this cheaper, by buying pretty much the exact same kit at my grocery store. My response is that
- everything is worth paying to do once
and….
- sometimes, you just can’t put a price on the time spent and memories created with your loved ones.
I know I’ll have this snapshot of time forever.
PS: By the way……One thing that bears repeating a final reminder…..
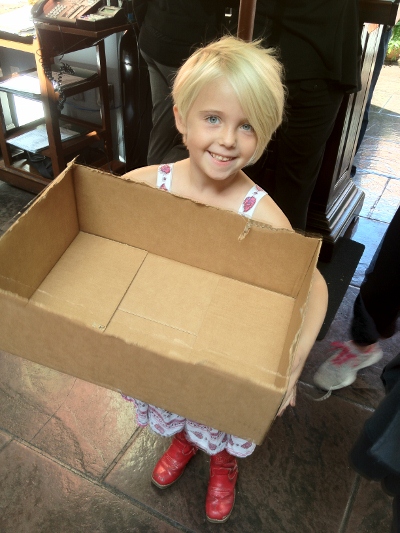
BRING A BOX!!!!!
Photos by N. Johnson and I. Johnson.

Leave a Reply