Ah, young Padawan – the Force is strong with you. You will need the weapon of a Jedi Knight to save the Rebel Army.
So where do all the young Jedi-wannabes go for their weapon of choice? LightsaberMart? No, silly – they closed lightyears ago. They head to the newly reopened Star Trader shop, next door to Star Tours: The Adventures Continue in Disneyland‘s Tomorrowland! Of course, if you are in Walt Disney World, you can stop at Once Upon a Toy in Downtown Disney, Tatooine Traders in Disney’s Hollywood Studios, and Mickey’s Star Traders in the Magic Kingdom.
Now, follow along as my young padawan girls show you what it takes to craft your very own lightsaber – the one your dreams will use to defeat the Empire!

As you exit Star Tours: The Adventures Continue, the specially designed kiosk is very hard to miss. Lenticular images of lightsaber masters, Darth Vader and Darth Maul, surround an exhibit of the familiar blue and red (good vs. evil) crossed lightsabers. Added above them, are videos of famous Star Wars lightsaber battles. Below this “exhibit”, you will find pricing and helpful building instructions, and off to the side, a courteous Tomorrowland Cast Member to assist you!
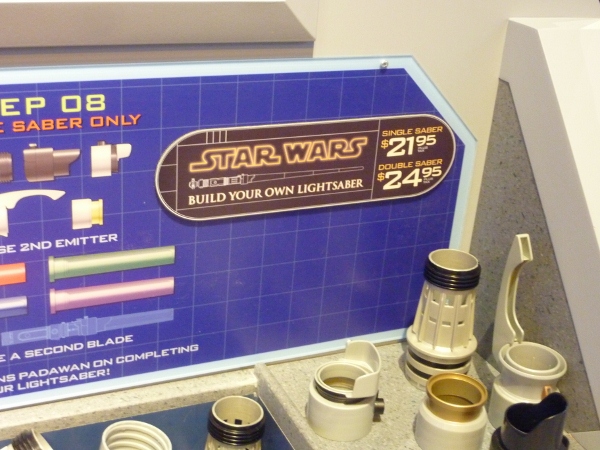
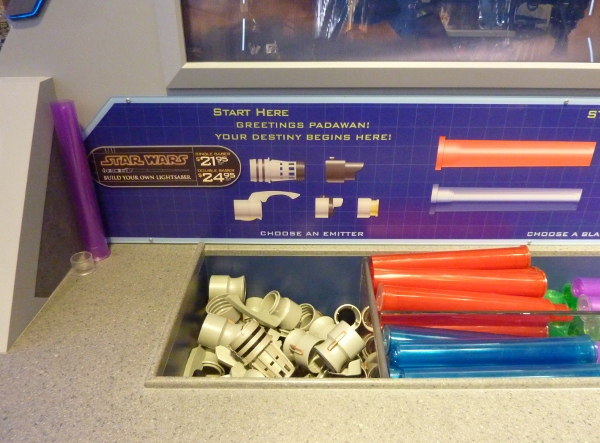
To begin, you can build your choice of Luke Skywalker’s traditional single saber at $21.95 (plus the Empire’s applicable taxes), or Darth Maul’s preferred double saber. Either choice will make your padawan happy….
Let’s get started. Step 1: Choose your emitter.
A little internet research tells me that the emitter harnesses the plasma to make the blade. Interesting what you can learn through Google… There are 5 styles, so personal preference is key.
My girls each picked a different style.
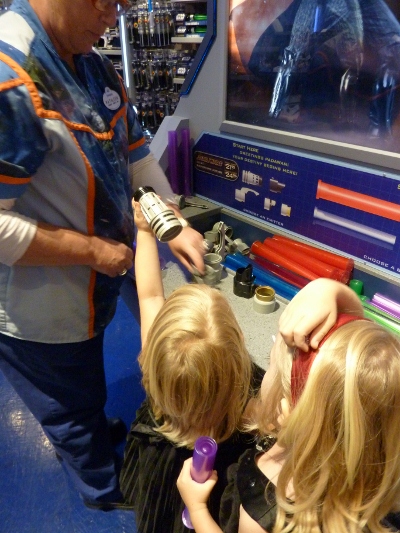
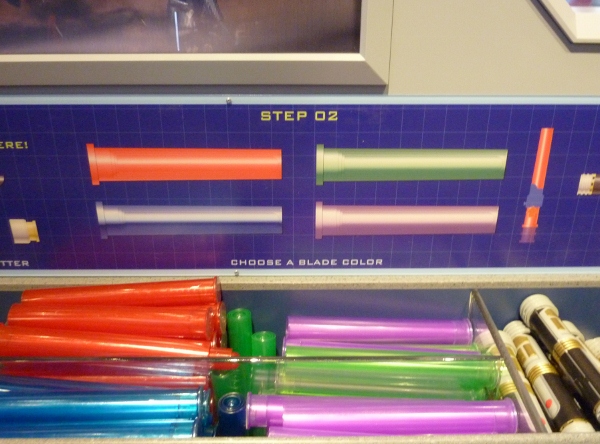
Step 2: Choose your blade.
There are several colors to choose from – all with “historical” basis in the Star Wars movies, video games, and books. More geek-based internet research tells me that red is the traditional color for the Dark Lords and Sith. Luke Skywalker had a green one, because it apparently wasn’t from a true crystal, but was synthetic in nature. Many Jedis apparently had blue plasma, because of the planet that mined the crystals. Purple crystals were apparently used until the Jedi were wiped out by Emperor Palpatine.
Yeah. I turned on my inner-geek for this one.
Frankly, my girls thought the purple ones were just plain cool. That’s what they picked….
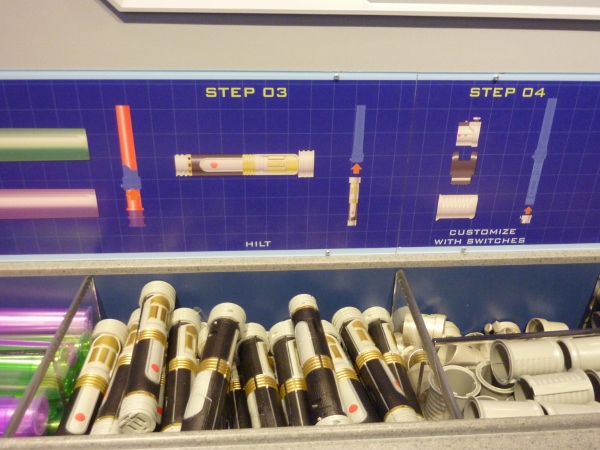
Step 3: Add your hilt.
According to the “history” books, the hilt contains the crystal (that is your power source) and various other bits of technology that are not of our planet’s century. I am totally the wrong person to explain this to you, so if you really, really want to know more about this – click here….
In other words, “No mom – they don’t use “batteries” !!!!” (You really should buy them anyway – the first ones come in the hilt…)
Now that you have all of those components, you need to start to assemble.
The next steps to customization involve more parts.
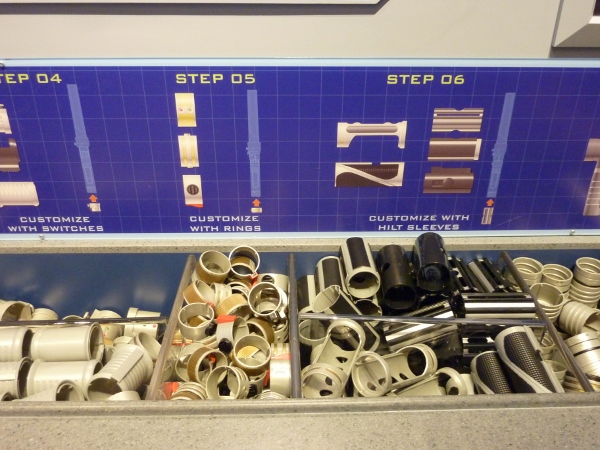
Step 4: Add a Switch.
Everyone needs that…. I mean, how else is a Jedi supposed to quickly get that blade up and running, while being oppressed by the Empire….
Step 5: Customize with Rings.
I can only figure that these are supposed to represent the different lenses used to focus the plasma… per Jedi technology, of course. That and they are somewhat decorative.
Step 6: Add a Hilt Sleeve.
Ooh- I know this one – it’s an insulator to keep your hands from being burned by plasma. See, I’ll be a Jedi in no time….
Step 7: Choose either a Cap or an Adapter.
Adapters are for making double-bladed sabers. Supposedly that means your young padawan’s inner Sith is showing…
Caps are the final end to the saber. Per Jedi technology, they hold the power source, let you grip it in alternative ways, or simply hook it on to your belt. Huh. The one with the handle is called a guard shoto. Yep. Really. Look it up here…
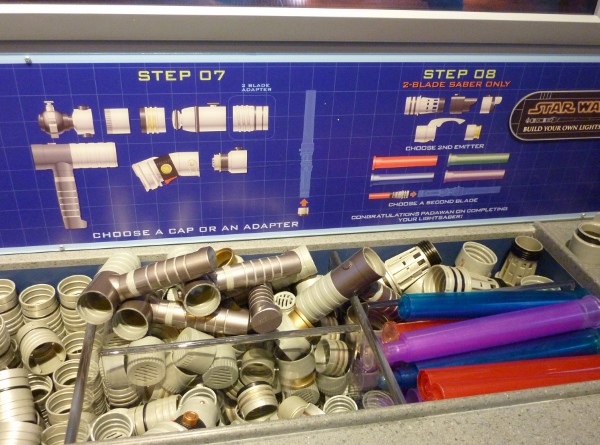
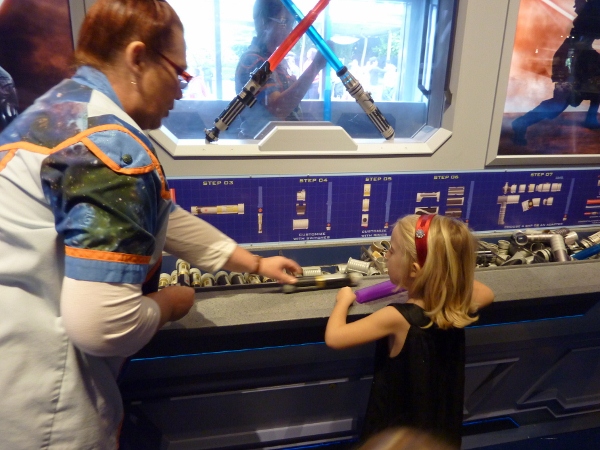
Once you’ve got all of your parts, now it’s time to put them all together. According to those who author extensive trivia bits, this could take a Jedi anywhere from very little time to many, many months – depending on the ease of access to complicated parts. Kind of like when your husband tells you he’ll get around to installing your new kitchen cabinets himself….
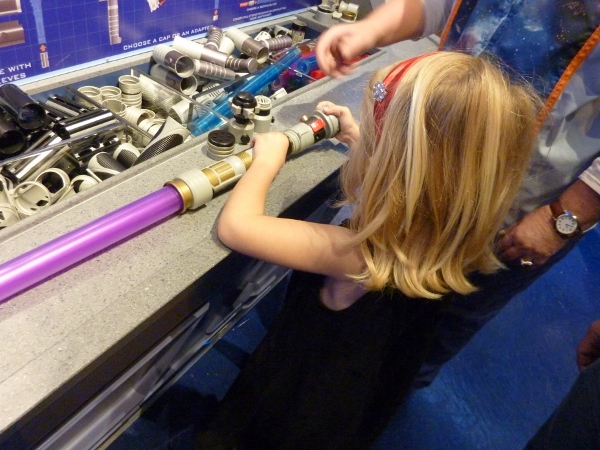
This process took us about 5 minutes total. Go figure. My girls were extremely decisive on what they wanted to kick some Empire tushies with. We had a fabulous time and the Cast Member really enjoyed helping them. Now once they stop bonking each other on the head with them, I think they will truly be off to use the Force for good!
Photos by N. Johnson.
Thanks to Wookieepedia for the education!

Leave a Reply