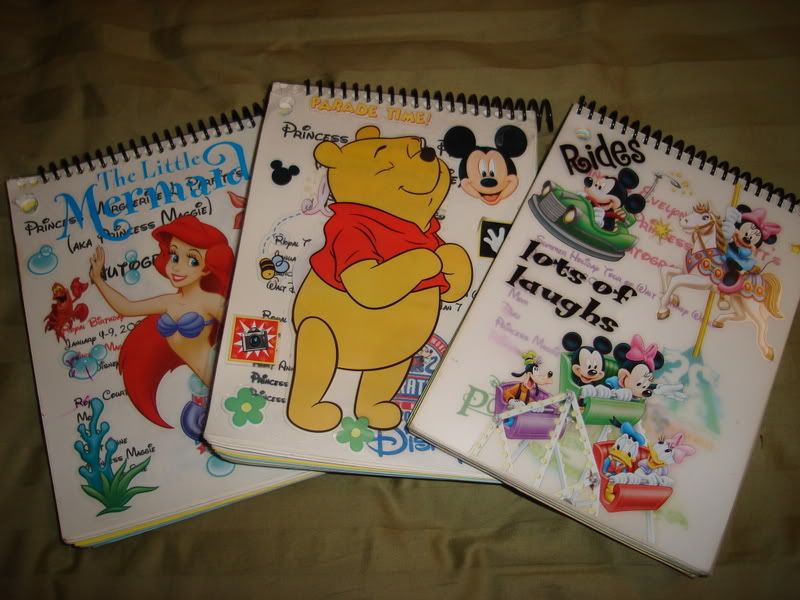
For the past few trips to Walt Disney World our family has made our own autograph books to take to the parks. My girls, ages 8 and 11, really enjoy making them with me, and the books get a big response from the characters. During one recent family vacation to Walt Disney World, we met a couple of friends for dinner. Our friends were taken with the books, and suggested I post a description of how I made them. Great idea! I’ve gotten so many good ideas from the DIS, I thought I would share my autograph books here. Here’s a picture of the finished books. Read on to see how we made them.
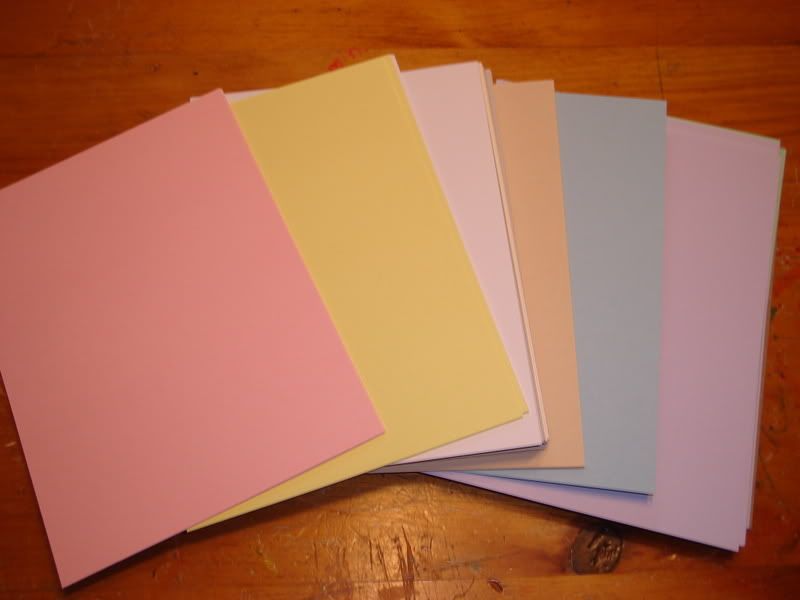
I start with 5×7 paper you can buy at a craft store. It’s really thick paper, and holds up well to Sharpie’s, etc. I can usually find it near the scrapbooking items. You can get all different colors, and it comes in packs of 50 sheets. I purchase a pack of “white assorted” and a pack of “pastel assorted” sheets.
Next, I go to a Disney clip art site, and get images from the characters we will most likely see, places we’re going to stay, and parks we’re attending. You can find many free clip art sites on the web by typing “disney clip art into an internet search engine. To my knowledge, the clip art I use is all free and in the public domain.
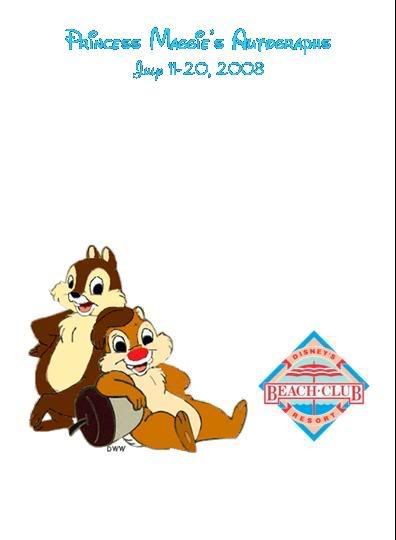
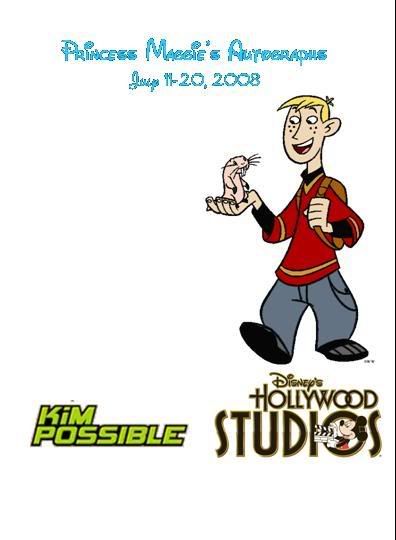
Then, in a graphics program, I format a page like the one below. I set the page size to 5×7, insert my clip art, and usually have some sort of header on the page as well. I then form feed the pages through my printer.

My girls really like sitting with me and picking the clip art pictures to use in the book. If we’re going to character meals, I’ll make sure I have pages for all the characters at that meal, and I’ll group those pages at the same place in the book so we can find them easily.
Here an example page:
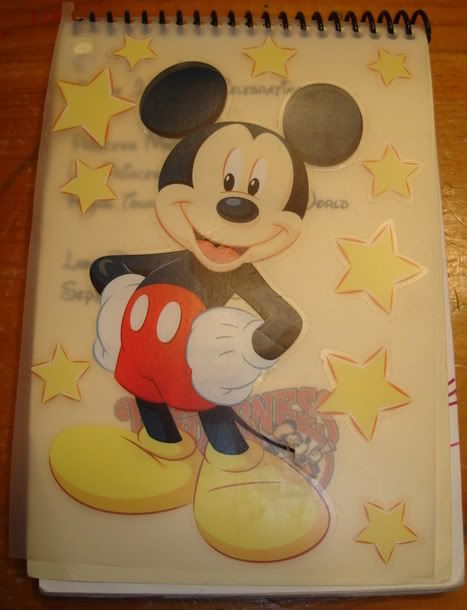
Once we get an electronic version of all the pages we want, I print them out on my home printer, put them in the order we want, and take them to my local copy center. I get a plastic cover on the front and back to protect it a little bit from water, bind it with a spiral binding, and drill a hole in the corner. The hole is so we can put a carabiner clip through it , and the girls can clip it to their fanny packs.
Here’s what the book looks like when it is all done. My girls usually get stickers from the craft store to decorate the cover.
Here are the books in action at Goofy’s Beach Party breakfast at Cape May Cafe. We get a lot of response from the characters when they see their pictures. Sometimes they write little notes, or show the pages to their handlers, etc.
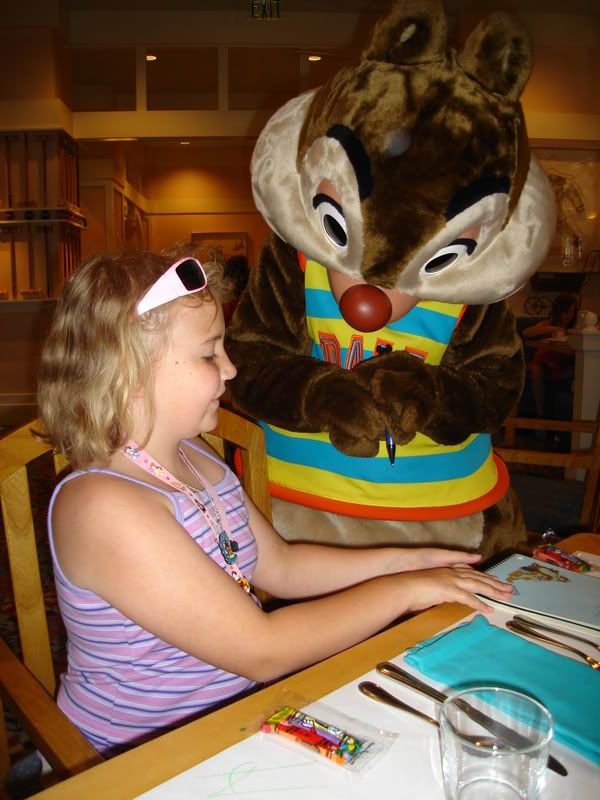
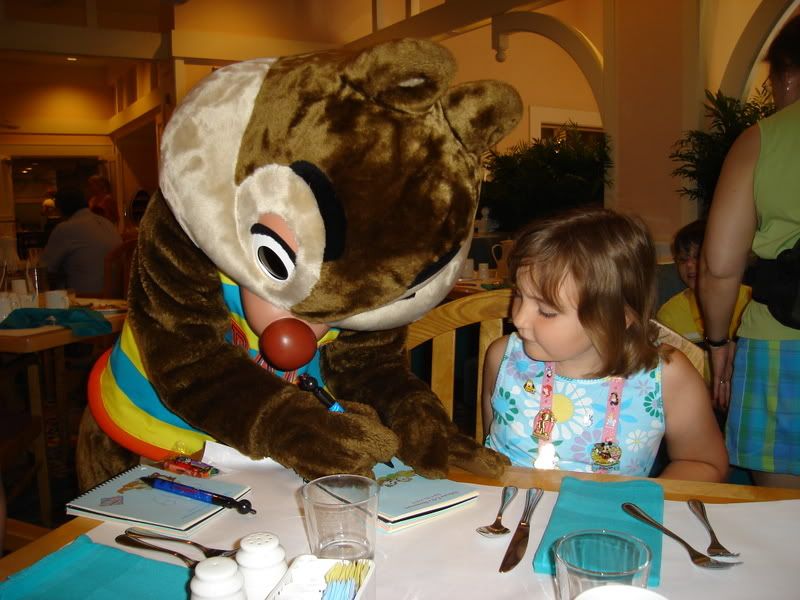


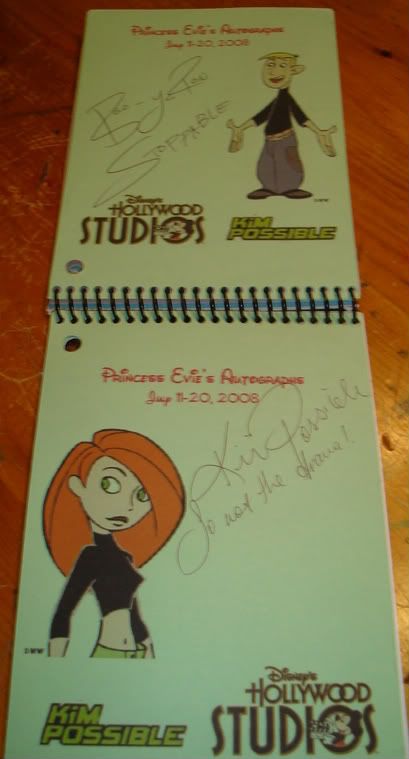
Here’s the signed page in the book.
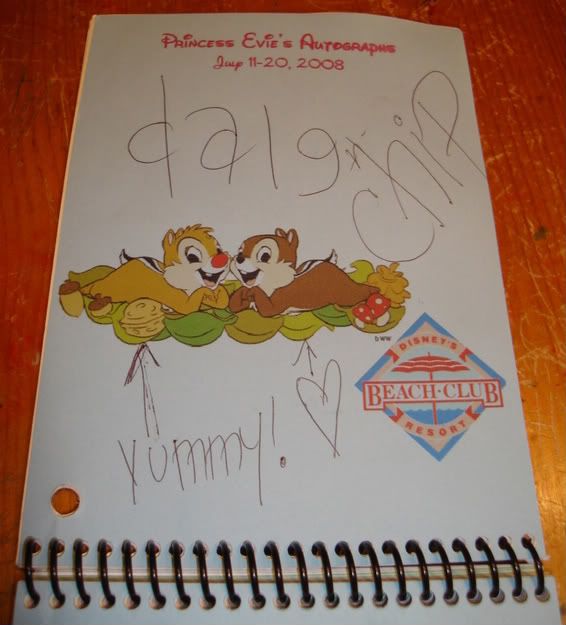
Some more examples:
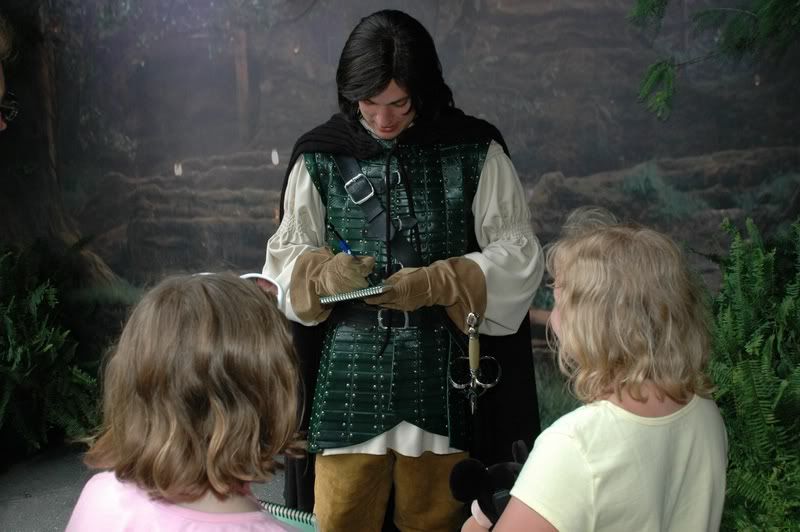
I think we freaked Prince Caspian out. He saw the picture, and was visibly taken aback. He finally says, “well, you were certainly prepared weren’t you?”
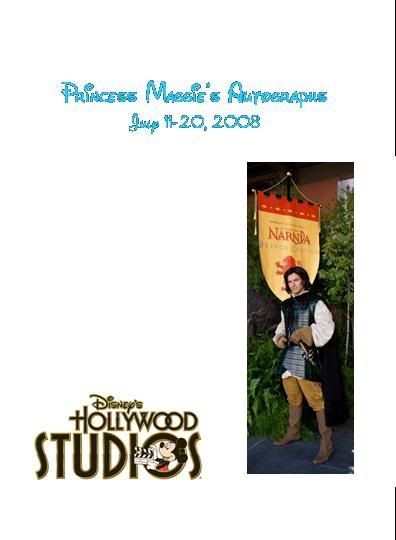
Ron Stoppable, couldn’t stop looking through the book. He went through every page to see all the pictures and talk to the girls about whose autographs they were getting.
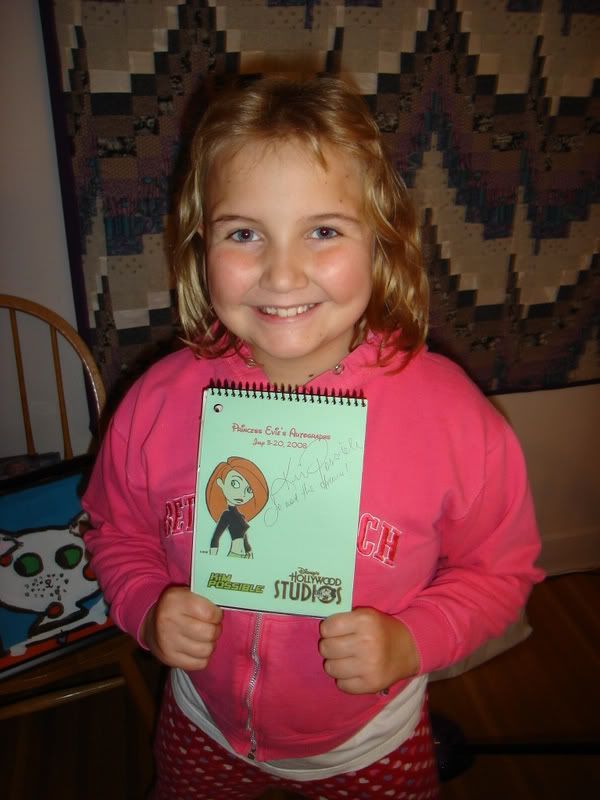
Well, I think that about covers it. Again, I have a lot of fun with the project with my two princesses, and we get a ton of interaction from the characters with the books. It really seems to “break the ice”, and give my girls something to talk to the characters about.
Now this is only one idea for how to make homemade autograph books. There is a whole section of the DISboards devoted to the Creative Community. Take a look at the threads found in that forum for more ideas, or share your own idea below. If anyone has any questions, don’t hesitate to ask or write a comment below.
Leave a Reply